Contrast therapy is just heat and cold, alternated - a sauna or hot shower followed by a cold plunge or cold shower, usually finishing on the cold. It is the natural pairing for anyone who already has or wants a home sauna, and it is the most popular reason people add a cold plunge in the first place. This guide keeps the claims modest and focuses on how to actually do it at home - including the version that needs no special gear.
Sauna-first or cold-first?
The classic rhythm is hot, then cold, then repeat, finishing on cold. Warm up in the sauna until you are properly hot and relaxed, cool off in the cold for a short bout, rest a minute, and go again for two to three rounds. Some people prefer to start with a brief cold dip to wake up and then warm through - that is fine too. What matters far more than the order is the transition: don't sprint from an 80°C sauna straight into a 5°C plunge, or from the cold straight back into scalding heat. Step the temperatures, let your breathing settle, and give your circulation a moment to adjust.
A simple home routine
- Round structure: 10-15 minutes warming, then 30-90 seconds cold, rest 1-2 minutes. Repeat 2-3 times.
- Finish: end on cold if you want the alert, "switched-on" feeling; end warm if you want to wind down for sleep.
- Cold temperature: 10-15°C (50-59°F) to start - see how to cold plunge for the full safety detail.
- Hydrate through the session, and stop if you feel dizzy, chest tightness, or breathing you can't control.
Home setups, by budget
You can do contrast therapy at almost any budget. The cold side scales up the same way the hot side does.
Starter: sauna (or hot shower) + cold shower - $0 extra
The simplest contrast setup uses things you already have: warm up, then finish with a cold shower for 30-90 seconds. It delivers most of the experience, it is the easiest to do consistently, and it is the safest way to learn how your body reacts before you invest in anything. If you are still choosing the heat side, the portable sauna and blanket options are the lowest-cost way in, and the how to use a sauna guide covers the warm-up.
Mid-range: chest freezer or stock-tank plunge + your sauna
A converted chest freezer (with proper, safe wiring and a cover) or an insulated stock-tank tub gives you colder, full-body immersion for a fraction of a purpose-built unit. It is more of a project, but it is how a lot of people get a real plunge at home without a four-figure spend. Pair it with whatever sauna you have.
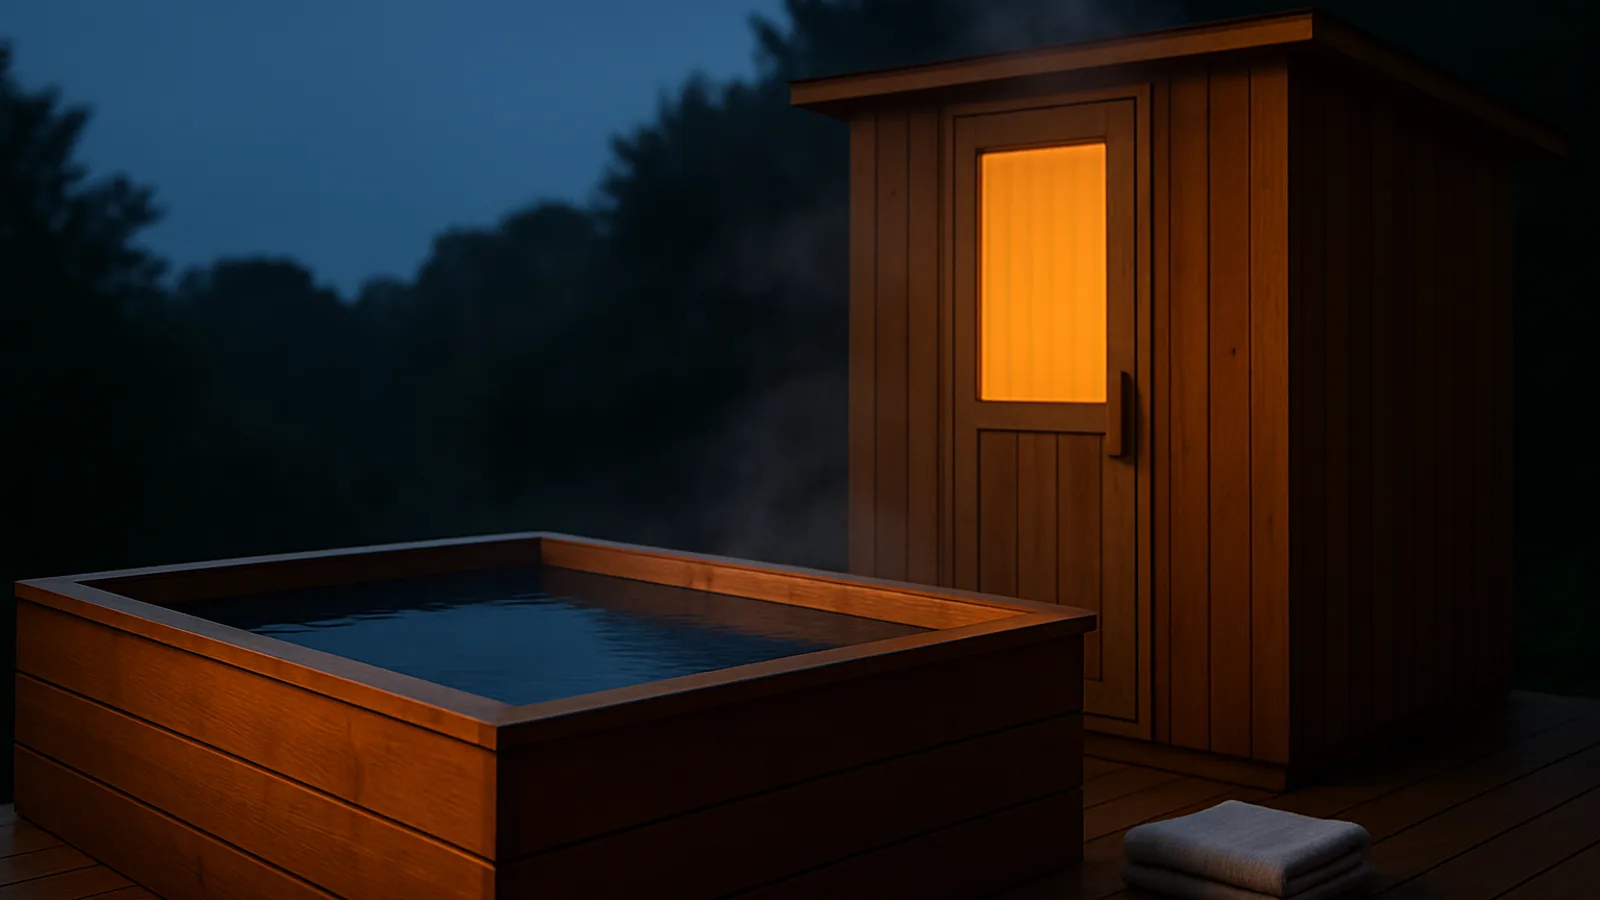
Premium: dedicated cold plunge tub + a built sauna
Purpose-built cold plunge tubs with a chiller and filtration give you consistent temperature, clean water, and no daily ice - the convenience upgrade. They pair naturally with an outdoor sauna, which already gets the heat (and the splash) out of the house. This is the most expensive route and worth it mainly if you will use it often. If you are pricing a build, the sauna cost calculator covers the heat side; budget the plunge and any electrical separately.
When a sauna and a shower is already enough
For most people, a regular sauna habit finished with a cold shower captures the enjoyable, recovery-friendly heart of contrast therapy without a dedicated plunge. Buy the tub later, if at all - only once you are plunging consistently and want colder, full-body, no-fuss immersion. The heat side is where the strongest long-term health evidence sits anyway; start there with the sauna benefits guide and the best home sauna decision guide, and add cold when it earns its place.
Frequently asked questions
What is contrast therapy?
Should you do the sauna or the cold first?
Do I need a cold plunge tub for contrast therapy?
Is contrast therapy safe?
Sources
Last updated
This is general educational information, not medical advice. Contrast therapy combines heat and cold stress; check with a doctor before starting if you have a heart, blood-pressure, rhythm, or circulation condition, diabetes, or are pregnant.